BME FAQ: Visual Guide
BME FAQ: Visual Guide
This is intended as a visual guide to supplement the main BME FAQ.
Contents |
Logging In
When you get onto the site you have two option. You can either log in or register. If you've had an account before, choose login. To log in you enter your email address and password.
If you've never had an account, choose register. Here you will be asked to select a username and password. Please note that you use your email address to log in to the site and not your username. If you get a message saying "This email address is already in use" you already have a profile and rather than trying to register, choose login.
Browsing Galleries
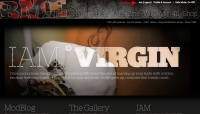
To browse the galleries on BME click on the link titled Galleries.
Note the "Safe Mode" option in the top right hand corner of your screen. If you want to view any of the "hard" content you will need to have that switched off.
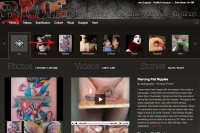
Next you are taken to the Media section of BME. This page displays the latest content in photos, videos and stories. For the sake of this example, let's say you want to view tattoo. Click on either the image or the text link that says "tattoos".
This takes you to the Tattoo Media. Now you are being shown the latest tattoo content in photos, videos and stories.
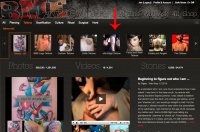
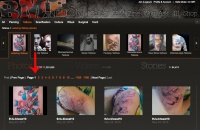
The scroll bar along the top displays each of the different tattoo galleries.
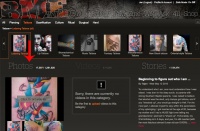
Scroll through the choices to find the tattoo gallery you want to view. So if you are looking for lettering tattoos, you scroll through the choices until you find the Lettering Tattoos Gallery. Now you are viewing all of the content available in photos, videos and stories in this gallery. To view only the photos, click the first section marked "Photos".
Now you are viewing the latest Lettering Tattoo Photos. You can use the pagination to scroll through the gallery while looking at thumbnails of each image. To open a specific image, click on that image.
Now you can see any information that the user submitted along with their photo. If you are logged in, you can leave comments under that photo for the user and other members to see. Below the photos are thumbnails of the next few images in the gallery. You can scroll through those images to find the next one you want to look at or you can use the arrow to scroll image by image through the gallery.
Uploading Content
If you want to submit content to BME, first you need to make sure you're logged in. Click on the link to your profile at the top of the page, on the right.
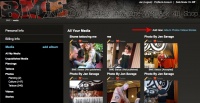
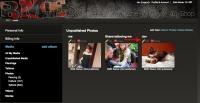
Once you get to your profile, click on the "Media" tab. This displays all of the media you've submitted to BME. To add new content, click on the white text to select either "photos", "videos" or "stories". For this tutorial, we're going to use photos.
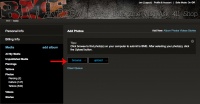
Click browse to choose the file or files you would like to upload. Once you have selected the photos you want to submit, click "upload".
When your photos have finished uploading, you will be taken back to your "unpublished photos" gallery. Find the photo(s) you want to publish and click on "edit".
This opens the photo in a new screen. From here you can add a title. If your photo contains nudity or anything else not suitable for minors check off the tab indicating it is not suitable for minors. If you want to submit to BME, you need to check the tab that is marked "submit to BME". You will also need to put your photo in the right category. This is important. Make sure you select the right category. "Piercings" is not an appropriate category. Your photo will need to go into a specific sub-gallery so it is crucial that you choose this carefully. You can read more about the categories in the BME FAQ. Fill in the artist's name, the name of the shop and where the shop is located. If you'd like to include any other bits of info, you can do so as well. Once you've finished editing the photo, click "save".
Here is another example. This photo shows how a box has been drawn around the mod in question. You can either scroll through the list for the right category or, if you are familiar with the gallery names, simply start typing it in and it will come up. Click on it to choose it and then click "submit". This will attach the category to your photo. Note that you are able to do this for each body modification in the photo. You should ensure that you are actually drawing a box around the mod in question, not tagging the whole photo or tagging the wall as "nostril piercing".
Once you click on save, the photo goes into the moderation queue. Your photo will now say "awaiting moderation" instead of "not published" underneath it. Once your photo has been approved it will appear live on the site. Until then, you can still view your photo in your profile under the media section.

